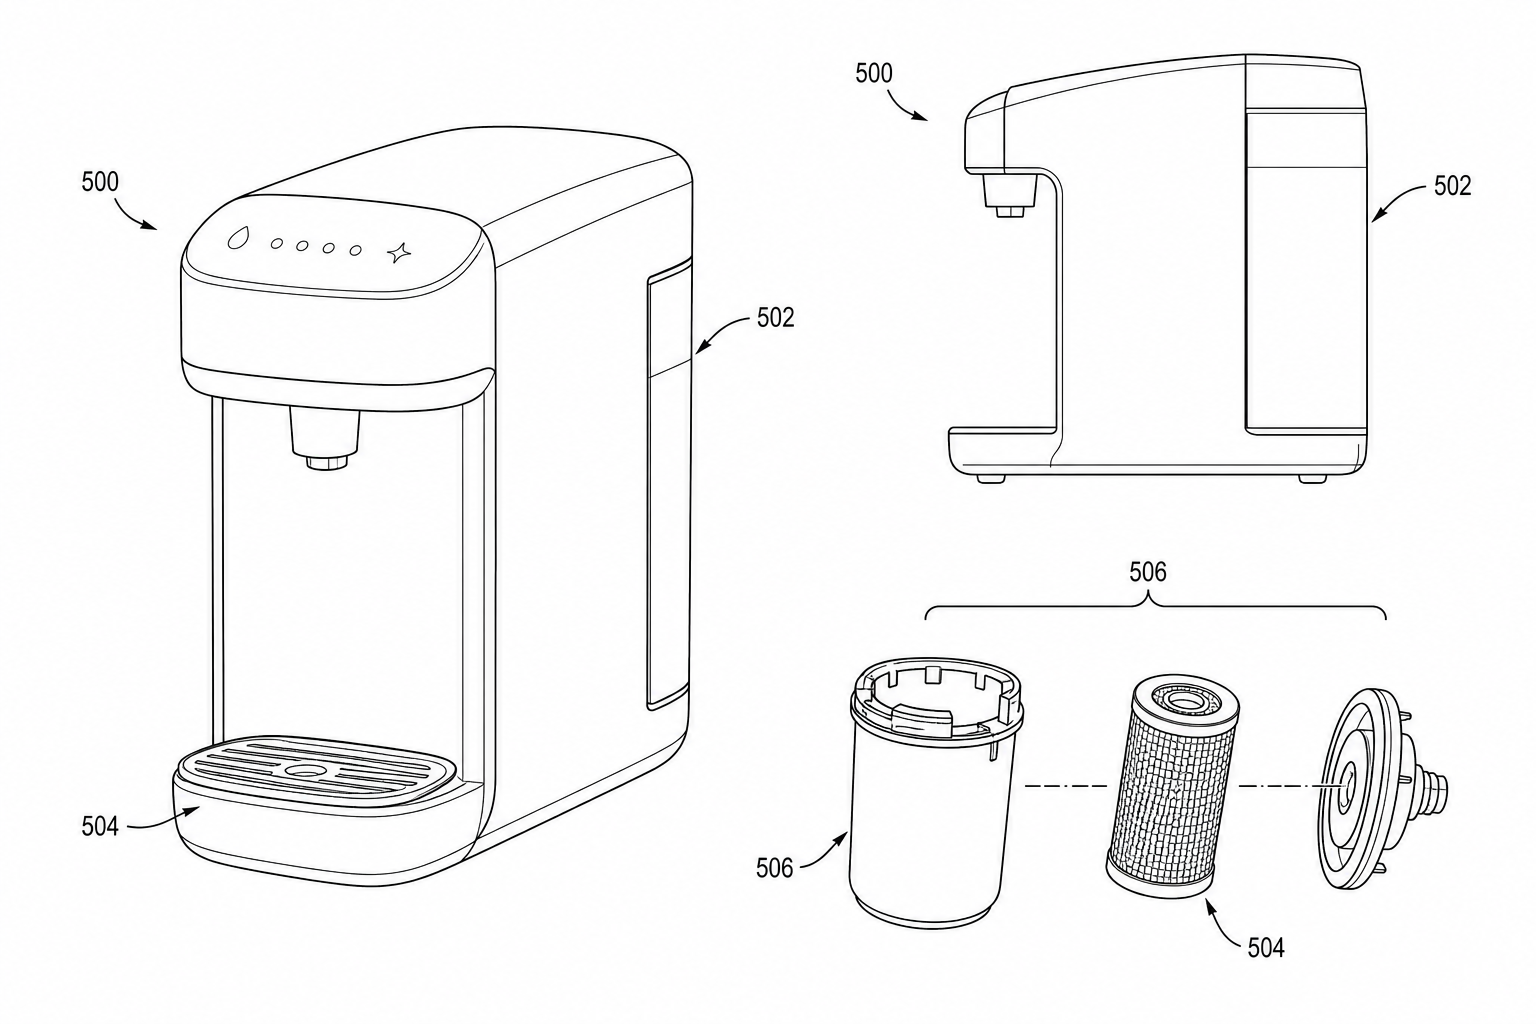
Product Photo to Patent Line Art: When AI Works and When to Redraw
Learn when product photos can be converted into patent line art with AI, when manual redraw is safer, and how to prepare views for patent filing.
TL;DR: AI photo-to-line-art conversion works when the photo clearly shows the claimed structure — exterior shape, clean edges, neutral lighting. Redraw or add CAD/sketch sources when the structure is hidden or internal and the AI would have to guess; a moderately complex application typically mixes photo, sketch, and written-description sources.
Product photos are often the fastest source for a first patent figure. They capture shape, proportion, and surface relationship better than a vague prompt.
Use product photo to patent line art when the target is a patent drawing. Use ManualFig-style product illustration when the target is a user manual or quick-start guide.
AI Works Best When The Photo Is Clear
Good inputs have:
- one product per image
- clear silhouette
- minimal glare
- no busy background
- enough resolution to see edges
- view angle that matches the desired figure
A clean product photo can become a first draft for utility line art, design views, or a perspective figure.
Redraw When Structure Is Hidden
AI should not guess hidden claim elements. If the invention depends on internal structure, add a cross-section, exploded view, CAD reference, or written description.
Redraw or add views when:
- a part is hidden behind the housing
- reflections obscure edges
- the product is partially assembled
- exact geometry matters
- the photo contains distracting branding
Patent Line Art vs Manual Line Art
Patent line art uses reference numerals, figure numbering, and formal line discipline. Manual line art uses step panels, arrows, warnings, part labels, and user-facing instructions.
For patent figures, move from this page to the Figure Checker before export.
Decision Framework: Convert, Add Views, Or Redraw
Use AI conversion when the visible photo already contains the geometry you need. Add views when the same product has important hidden relationships. Redraw when the photo asks the model to invent structure.
| Source condition | Better action |
|---|---|
| Clean isolated product, clear silhouette | Convert to first patent line-art draft |
| Internal mechanism hidden by housing | Add cross-section or exploded view |
| Multiple parts partially assembled | Add part list before generation |
| Strong reflection or branding | Clean source or redraw the view |
| Exact geometry controls the claim | Use CAD, sketch, or manual review as source of truth |
After conversion, review in this order: silhouette, missing parts, reference numerals, leader lines, margins, color mode, then export format. If the silhouette is wrong, regenerate early. If only a numeral or leader line is wrong, use a targeted revision instead of restarting.
Photo Quality Thresholds
Quantifying "good enough" helps an IP team set expectations with engineering or product when collecting source material:
| Attribute | Acceptable | Risky | Reshoot needed |
|---|---|---|---|
| Resolution | 12+ MP | 6-12 MP | Under 6 MP |
| Focus | Sharp across product | Soft at edges | Out of focus |
| Lighting | Diffuse, even | One-sided | Hard shadow across product |
| Background | Plain, single color | Slightly cluttered | Busy or patterned |
| Reflections | None or very subtle | Visible on one face | Major glare |
| Angle | Perpendicular, ±5° | ±15° | Severe perspective |
| Product state | Fully assembled or fully exploded | Most parts assembled | Mid-assembly |
A product photo that is "acceptable" on every attribute produces clean AI line art in one pass. One "risky" attribute can usually be cleaned up after generation. Two or more risky attributes, or any "reshoot needed" entry, costs more in cleanup than the photo session would have cost in the first place.
What AI Hallucinates From Photos
The failure modes that need human verification on every photo-derived figure:
- Invented fasteners. A screw partially hidden behind a reflection often gets "completed" by the model into a clearly-drawn screw that the photo did not show.
- Smoothed surfaces. Subtle surface texture (grip pattern, brushed metal, fabric weave) gets simplified into flat shapes. If the texture is part of the claim, AI will erase it.
- Resolved ambiguity. A seam between two parts looks similar to a surface line. AI picks one interpretation and commits to it; the wrong choice changes the claim.
- Symmetric completion. When a photo shows three-quarters of a symmetric object, AI tends to mirror the visible half. If the hidden half is actually different, AI will not know.
- Material distinction loss. A metal cap on a plastic body looks the same as a plastic cap on a plastic body in line art. Hatching or callouts that the photo did not show may be needed in the patent figure.
The mitigation is human verification, not better photos. Even a perfect photo cannot show what is behind the visible surface.
Worked Example: Earbud Charging Case
A clamshell earbud charging case, novel hinge mechanism, three views needed.
Photo 1: case closed, perpendicular front view. Plain white background, soft lighting. AI extracts the silhouette, the seam line between the two clamshell halves, the charging port, and the visible LED.
Photo 2: case open at 90 degrees, perspective view from the front-top. AI extracts the hinge cavity, the earbud sockets, the magnetic contacts.
Photo 3: case open at 180 degrees (fully flat), top view. AI extracts the full internal layout.
After AI extraction, the patent engineer adds:
- Reference numerals matching the spec's reference table
- A cross-section through the hinge (cannot be photographed; sourced from CAD or sketch)
- A detail view of the magnetic contact, enlarged from photo 3
Total time: about an hour for the three photo-derived views plus 30 minutes for the cross-section and detail. The same set from scratch in CAD would take 4-6 hours.
When Photos Alone Are Not Enough
For most utility inventions, photos need supplementation from at least one other source:
- CAD or 3D model for cross-sections, exploded views, hidden mechanism detail
- Inventor sketches for the disclosure intent (which parts matter to the claim)
- Written description of process steps or method claims that cannot be photographed
The hybrid pattern: photos handle exterior structure, CAD or sketch handles interior intent, written description handles process. A patent application for a moderately complex product often uses all three.
Open the product photo to patent line art workflow.
Next step: Open the generator and try this workflow with your own source material — or browse patent drawing examples for a starting point.
Author

Categories
More Posts
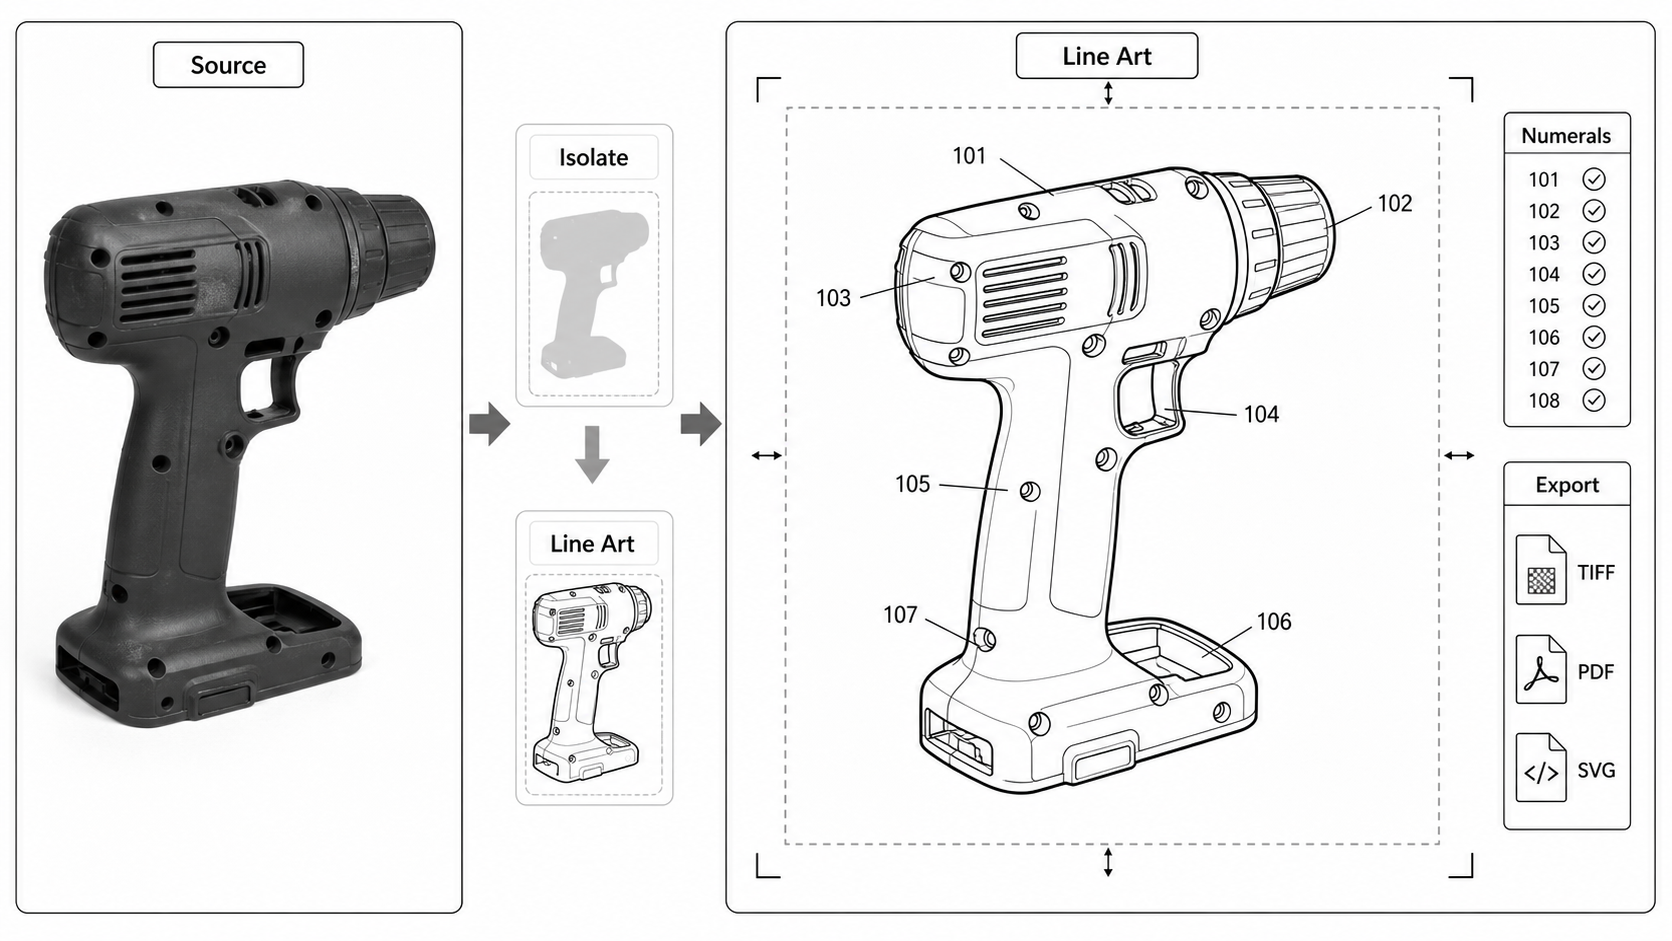
Photo to Patent Drawing AI: A Practical Workflow
Turn product photos into patent-style line art: photo prep, AI line extraction, what AI invents and what it loses, and the cleanup steps before filing.
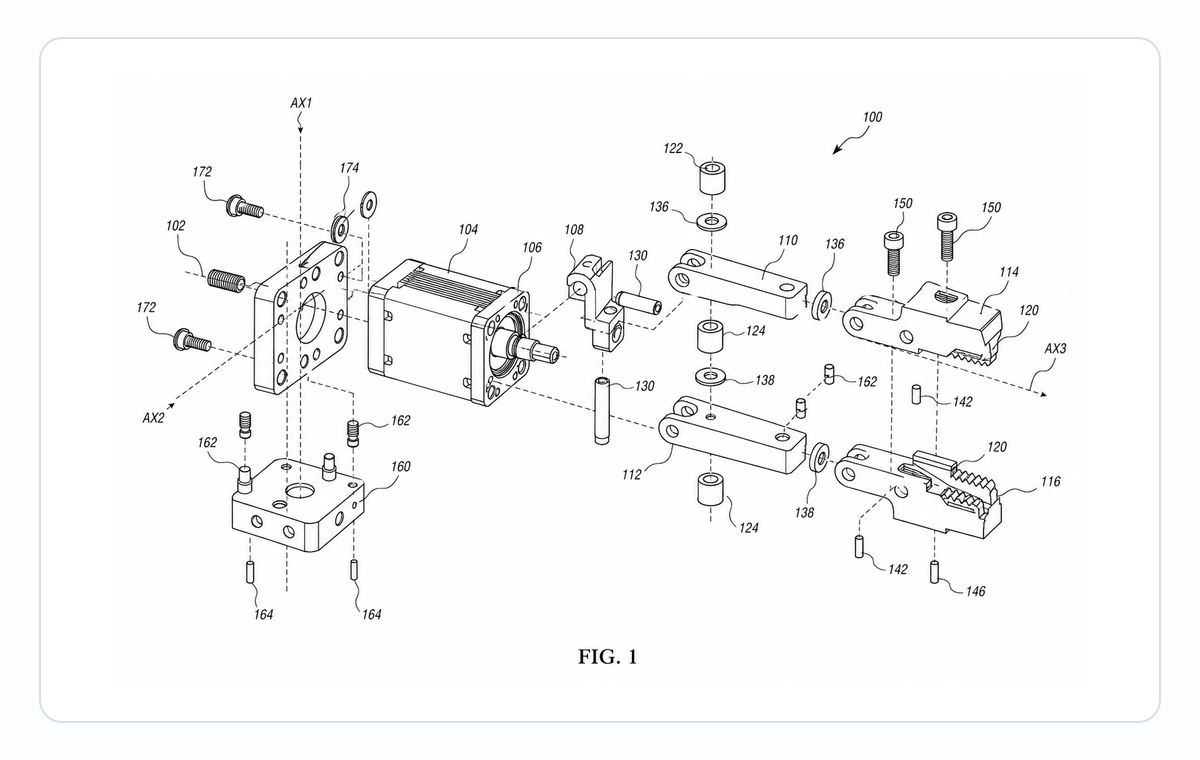
Exploded View Patent Drawing Workflow: Parts, Spacing, Callouts, and Review
Plan exploded view patent drawings with clear part order, spacing, leader lines, reference numerals, and pre-export review.
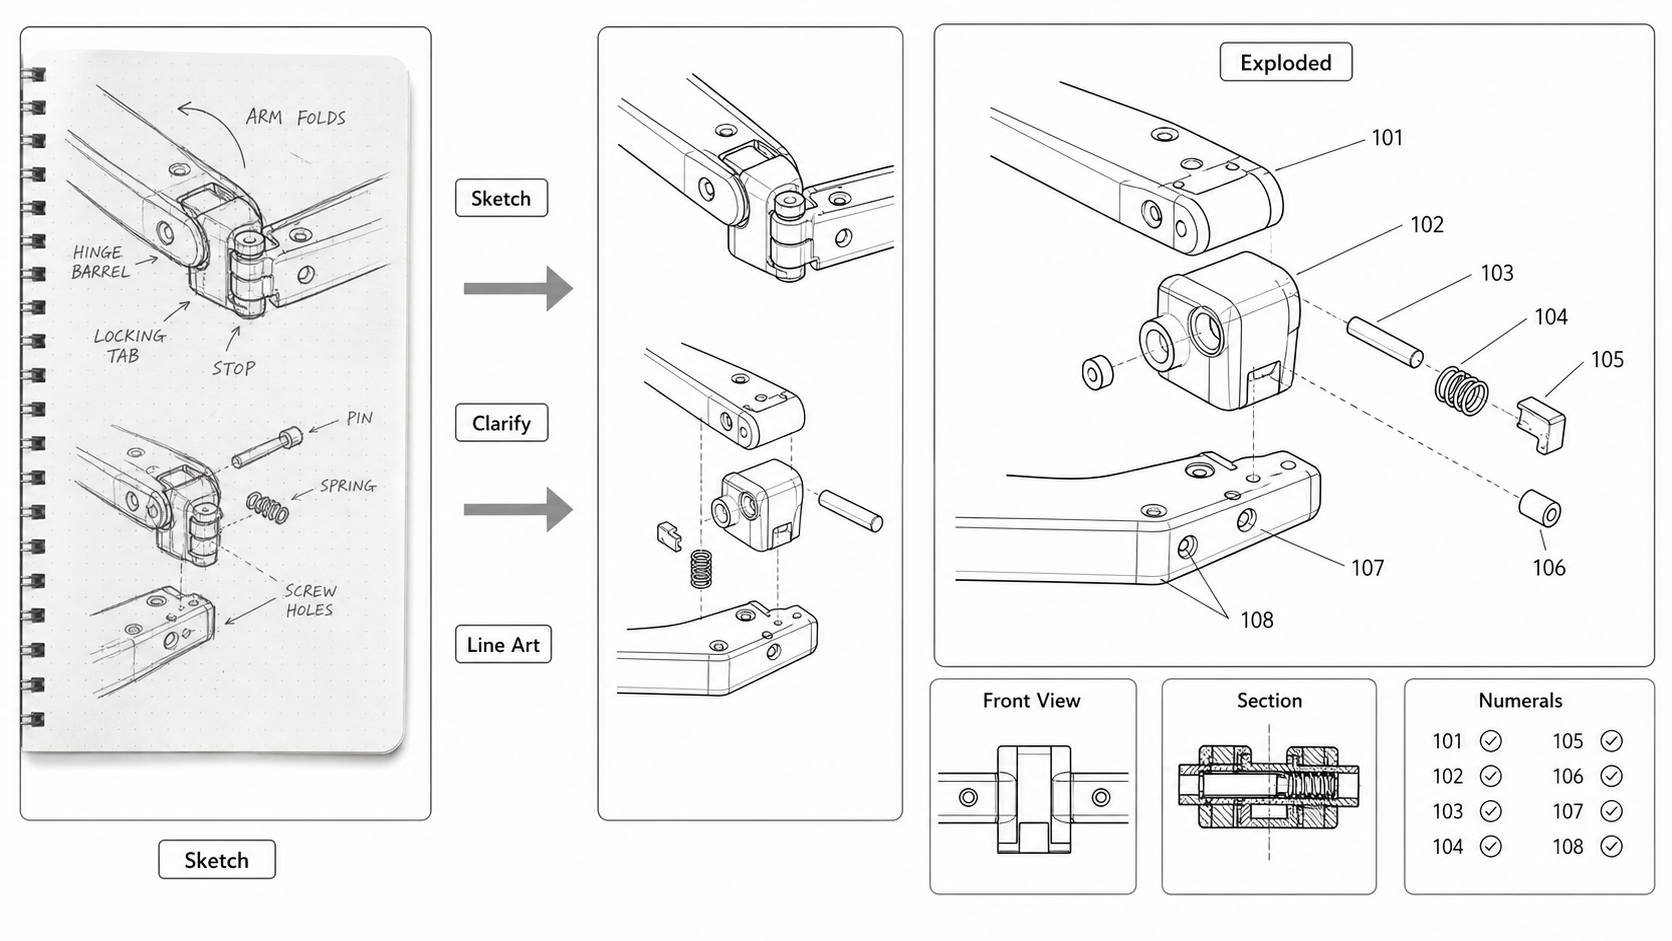
Sketch to Patent Figure: Turning Inventor Notes Into Filing-Ready Drawings
Convert hand-drawn inventor sketches into patent figures: scanning tips, AI line-art extraction, when to redraw, and what gets lost between a napkin and a USPTO submission.
Newsletter
Join the community
Subscribe to our newsletter for the latest news and updates